
Why won't my computer turn on?
Why won't my computer turn on?

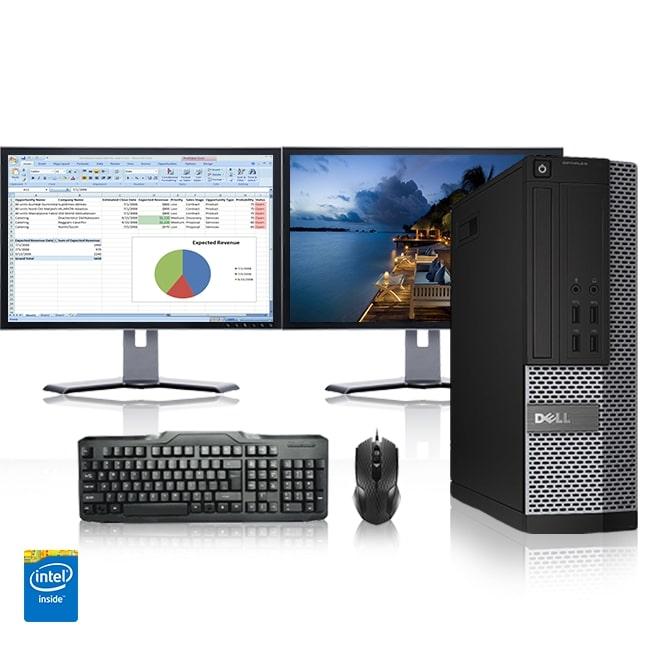
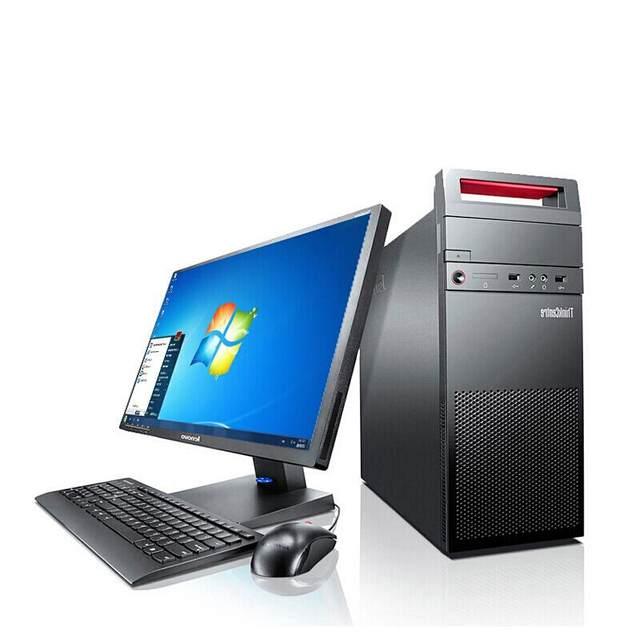
If you have a desktop computer that does not turn on after pressing the power button, use the following information and troubleshooting steps to help fix the problem.
I'm not sure if my computer is turning on
If you're uncertain if the computer is turning on, check if the case fan (generally on the back of the computer) is spinning. If a fan is spinning, the computer is getting power, and this page may not apply to your issue.
Note If the computer turns on but doesn't pass a POST, sounds a beep code, or isn't showing any picture on the display, see: POST troubleshooting steps.
Power cord not connected properly
It may seem obvious, but verify the power cord is connected to the back of the computer and plugged into a power outlet. If it appears to be connected correctly, disconnect and reconnect both ends of the power cord to ensure the cable is not loose.
Power strip or outlet
If you have a power strip (surge protector) or UPS (uninterruptible power supply), disconnect the computer power cord from it and connect the cord directly to the wall outlet.
If connecting the computer directly to the wall outlet still does not work, verify the outlet works by connecting another electrical device.
Bad power cable
Verify the cable supplying power to your computer is not bad or damaged, by swapping it out for another one.
If you don't have another power cable to test with, see if a friend or a family member has one you can borrow. You can also purchase a new power cable online.
Tip Some computer monitors may use the same type of power cable as your computer. If your monitor power cable is removable and has the same type of connector, try using it to power the computer as a test.
Power supply switch
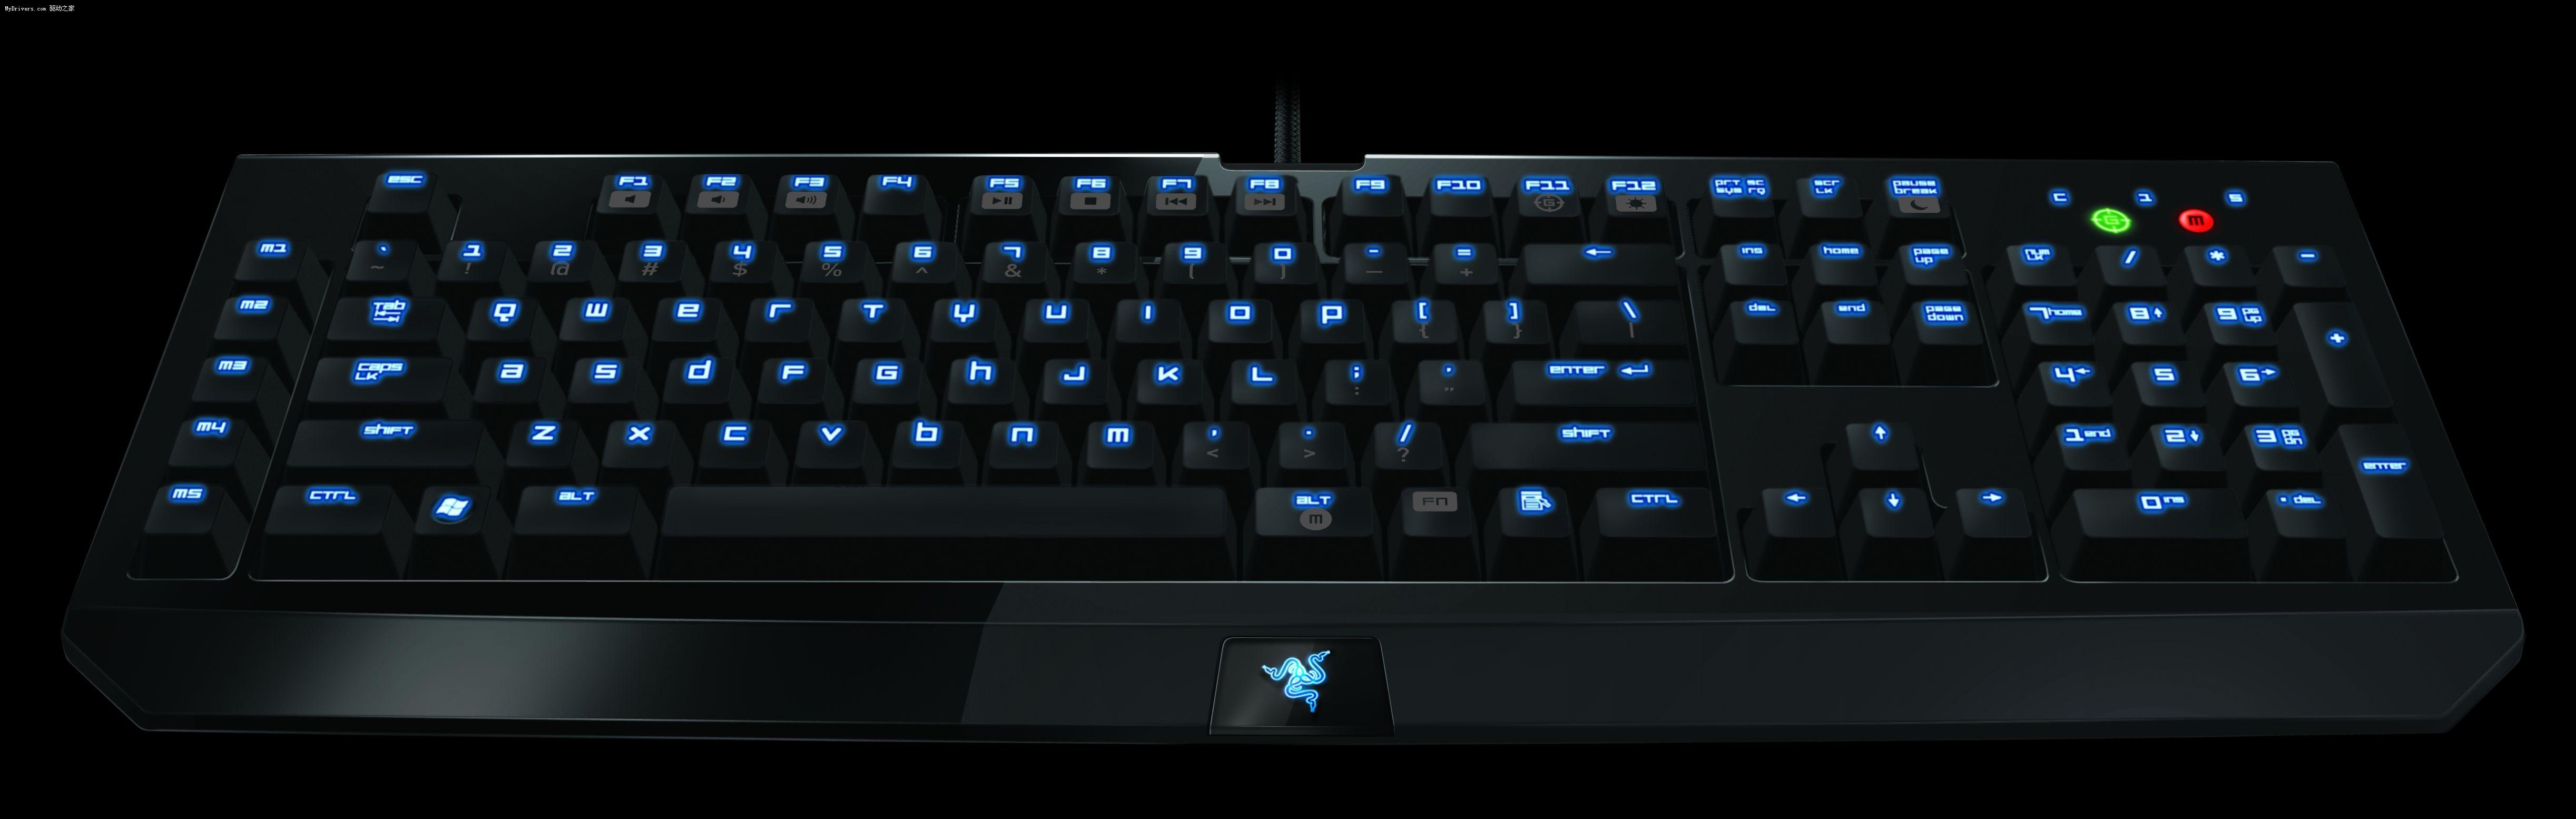
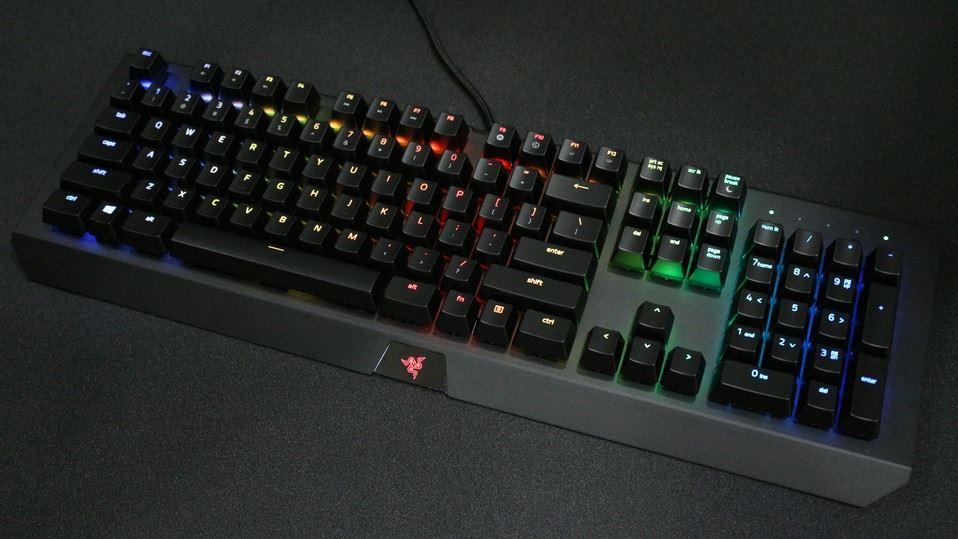
Some computer power supplies, like that shown in the pictures, have a power switch on the back. Check the back of the computer and make sure there are no additional buttons that were turned off by accident.
Tip A power supply switch often has a "0" and "1" which is binary for "off" (0) and "on" (1).
Incorrect power supply
If you built the computer and cannot get it to turn on, the power supply may be defective or is insufficient for your hardware's needs. Verify the power supply meets the requirements of your motherboard, processor, and video card.
Third-party hardware
If any computer hardware was recently added, we recommend you temporarily disconnect or remove it to ensure that it's not causing your issue.
Note If, after you've added new hardware, the computer turns on but is not beeping and the monitor isn't displaying anything, see: POST troubleshooting steps.
Bad power supply, button, power board, or inverter
If, after following the steps in the sections above, your computer still receives no power, the power supply may have failed. If you don't want to replace it yourself, we suggest taking the computer to a repair center.
If you have a desktop computer and plan on trying to repair it yourself, open the computer and verify the power connections. You can do so by disconnecting the main power cable and reconnecting it to make sure it has not become loose. Also, verify the power button cable is correctly connected to the motherboard.
If the power button gets stuck when you push it or it doesn't push down very far, the power button is defective or has a bad contact. Repairing a bad power button is difficult to do, and may require help from a computer repair shop or replacement of the computer case.
You can also test the power supply using a multimeter to check if it outputs the correct voltage. If the voltage output is low, the power supply is likely bad and needs to be replaced.
Loosely connected hardware
Each time your computer tries to turn on, it runs a POST. If any computer hardware components fail this test, the computer does not continue to boot.
Note When working inside your computer's case, take appropriate precautions to prevent ESD that may damage sensitive electronics.
Unplug all cables from the back of the computer. Open the computer and reseat all expansion cards and memory. After these cards are reseated, make sure all cables are firmly connected by disconnecting and reconnecting them.
After everything is disconnected and reconnected, connect only the power cable to the back of the computer, then try turning it on. If the computer turns on, you can turn it back off and reconnect all the cables.
Bad motherboard
If the power supply connections look ok, but the computer still doesn't turn on, the motherboard may be bad. First, open the computer case and do a visual check of the motherboard. Look for any bulged or blown capacitors.
If you recently did soldering work on your motherboard, some of the solder may have connected two or more contact points that it shouldn't have. Those improper connections can cause the computer to not power up or boot.
Other possible causes for motherboard failure include the following:
Crack in the circuit board.
Broken pins or prongs for an integrated circuit.
Melted integrated circuit due to overheating.
While you can try replacing a bulged or blown capacitor, it's very likely that the motherboard defects above require it to be replaced.
Other bad hardware components
If the power supply and motherboard are in good shape and confirmed to not be the problem, another component may be bad. Try replacing the following hardware components in the order listed.
Why Won't My Computer Turn On?
Step 2: Internal Wiring

The next step is to start checking inside your build to ensure that there are no loose or malfunctioning cables. If you are working with a prebuilt system, keep in mind that opening your PC can violate your warranty, and it might be a good idea to contact your system manufacturer for advice before proceeding.
Start by unplugging the cable that runs from your PC’s power supply to the outlet before doing anything else inside your computer. Also, be sure to disconnect any external peripherals, like keyboards, mice or external hard drives, and monitor cables that are plugged into your computer. USB devices or display connections cables can occasionally cause power issues, and if your PC boots without any plugged in, plug each one separately and test until you’ve found the problematic peripheral, and either try and boot without it or test with a replacement.
If that doesn’t work, unplug your computer from the wall, and open your case to get access to your internal components. This process will vary depending on your case, so follow any appropriate documentation and instructions to get access to the inside of your PC.
After getting your case open, you’ll want to check all the connections from your power supply to the components in your PC, see if any are loose, and then reseat them if they are. If you have a modular PSU (a power supply where you choose the cables you want to use), also be sure to double-check that the cables are properly seated on the PSU side as well. After ensuring nothing is loose on either side, see if your PC powers on.
If that didn’t work, it’s time to unplug every power cable that is connected to your components. This includes the 24 pin and the CPU power cables connected to your motherboard, additional power cables running to any PCIe devices like your GPU, and SATA and Molex power connectors connected to storage devices and other accessories.
For a deeper dive on power supply connections, take a look at everything you need to know about power supplies.
Once everything has been unplugged from the PSU, reseat the motherboard and CPU power cables, plug in your PC, and see if your system turns on, as indicated by fans spinning and the lights on your hardware illuminating.
If it does, great! You’ll then want to power down the system and begin reconnecting the power cables to each piece of hardware, then testing until you find the hardware that is causing the problem. Again, if you’d like guidance on what hardware requires a power supply connection or have any questions about what goes where, check out this introduction to PC building.
While looking inside your case, keep an eye out for anything that could be causing an electrical short. Common examples of this issue are motherboards that are screwed directly to the case without using the required standoffs, or Molex* connectors with errant pins making contact with the chassis. This is unlikely to be an issue if your PC is prebuilt, but it’s always worth looking out for and isn’t always obvious.
If you have tried all of the above and are still not seeing component status LEDs, you could be looking at a faulty PSU.
If you have a spare power supply that you know works, plug in the CPU cable and 24 Pin motherboard cable from your new PSU to see if it successfully provides power to your motherboard. If it does, your previous PSU was likely the problem, and you can contact the manufacturer of the faulty unit for next steps.
What can I do if my PC is not working when it’s connected to the Unmanaged Switch by cable?
What can I do if my PC is not working when it’s connected to the Unmanaged Switch by cable?

Note: This article is on the condition that the Ethernet light on the unmanaged switch is on when it’s connected to your PC by cable and your PC works fine when it’s connected to the router directly by cable.
Ethernet light is not on when the PC is connected to the switch by cable, please refer to this FAQ: What can I do if the Ethernet LED indicators on the Unmanaged Switch are off? If theiswhen the PC is connected to the switch by cable, please refer to this FAQ:
The reasons for this problem might be: some special settings in the router itself or the switch might not be working properly.
Let’s troubleshoot the problem one step by one step:
Step 1 Do the following test first:
1) static IP Address for both PCs in the same local network, one as 192.168.0.2 and one as 192.168.0.3 for example( refer to FAQ 14 as to how to set up static ip address: article/?faqid=14) Connect two PCs to the switch by cable (also disconnect the PCs and the switch from anything else)----set upfor both PCs in the same local network, one as 192.168.0.2 and one as 192.168.0.3 for example( refer toas to how to set up static ip address
Switch
/
PC 1 PC 2
2) Disable or uninstall anti-virus software and firewall in both PCs in case the software will interrupt our next step troubleshooting and this is just for this test; later you can enable or re-install them back----then start to ping PC2 from PC1( if you don’t know how to do this, please google search ’ how to ping my computer/pc’ ).
For how to use ping command please refer to:
Ping result analysis:
1) "Request timed out" or’ Destination Unreachable’ etc, please skip step 2 and contact for further assistance. If the ping result is" or’etc,for further assistance.
2) A successful ping will result in a response of "Reply from" followed by the IP address, then please go to step 2.(you shall ping PC2’s IP address, not 8.8.8.8, the picture below is just an example for ‘successful ping result ‘)
Step 2 Connect PC1 to the switch by cable and set up a static IP address in the same local network with router and PC2----then disable or uninstall the anti-virus software and firewall in both PCs -----try to ping PC2 from PC1.
PC1-----Switch-----(LAN port)Router(LAN port)-----PC 2
Ping result analysis:
1) If the ping result is "Request timed out" or’ Destination Unreachable’ etc, then there might be a problem of the switch, please contact


Leave a comment